I’m in the process of building a new gaming machine for my son and he wants all the RGB. I’ve not really played with RGB very much. I have an RGB keyboard and one set of lights in my machine (which I got to impress the kids). Even this fairly limited experience, however, has shown me that the software supporting RGB is universally terrible from all the vendors. This also ignores the fact that every vendor seems to try and lock you into their ecosystem – this is mostly why I’ve never looked at it before.
I was wondering what the options were for the motherboard I’m going to get and I stumbled across OpenRGB, and open source project to unify RGB control in a single piece of software and across multiple platforms. This sounds like my cup of tea so it’s time for a play.
Installation is well supported though Flatpak, AppImage and Debian native packages (there are packages for other platforms as well). I would typically go with Flatpak for this sort of software but in this case the Debian native package might make more sense. Since the software is controlling hardware it needs access to certain devices which Flatpak doesn’t automatically grant. You can manually grant access but the Debian package will grab the permissions it needs at installation. The downside of using the Debian package is that it’s a manual install so you’ll need to manually keep it up to date.
I also plan on keeping an eye on Artemis as it looks like an interesting project. It doesn’t have an easy installation process at the moment and I’m not interested in fighting a build and install script – I’ve done enough of that for one lifetime.
Installation
In the end I decided to go with a Flatpak install for the ease of keeping it up to date. Use Discover or other application to install OpenRGB. You then need to install the udev rules that will allow it to access the RGB on your system. This is done by running a script that you can find here. Obviously, running some random script you find on the internet is not a good idea so download it and have a read through before you run it. I had a look at it and it doesn’t do much. It just downloads a rules file, adds it to udev and reloads the rules. I also looked though the rules themselves (found here) and didn’t immediately see anything to worry about – I’m not Linux security expert though.
$ chmod a+x openrgb-udev-install.sh
$ sudo ./openrgb-udev-install.sh
[sudo] password for doozer:
--2024-11-11 11:25:16--  https://openrgb.org/releases/release_0.9/60-openrgb.rules
Resolving openrgb.org (openrgb.org)... 35.185.44.232
Connecting to openrgb.org (openrgb.org)|35.185.44.232|:443... connected.
HTTP request sent, awaiting response... 200 OK
Length: 158360 (155K) [text/plain]
Saving to: ‘60-openrgb.rules’

60-openrgb.rules                                100%[====================================================================================================>] 154.65K   490KB/s    in 0.3s

2024-11-11 11:25:17 (490 KB/s) - ‘60-openrgb.rules’ saved [158360/158360]
Running the Software
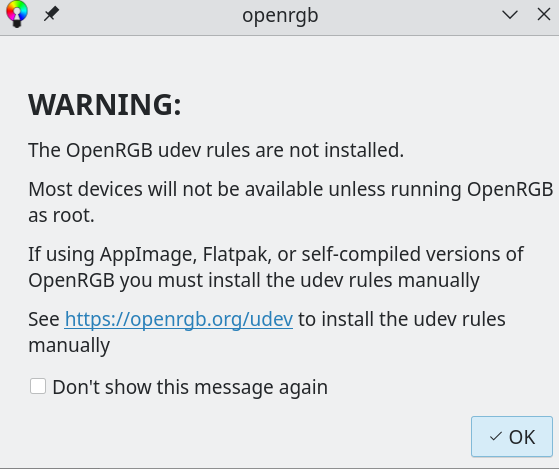
On my KDE based system I found a shortcut for the application under the utilities heading. When starting the application I’m greeted with a warning about the udev rules not being installed. As I have installed the rules and I can see in the applications main window that it has found at least some of my RGB I suspect this is a spurious warning.

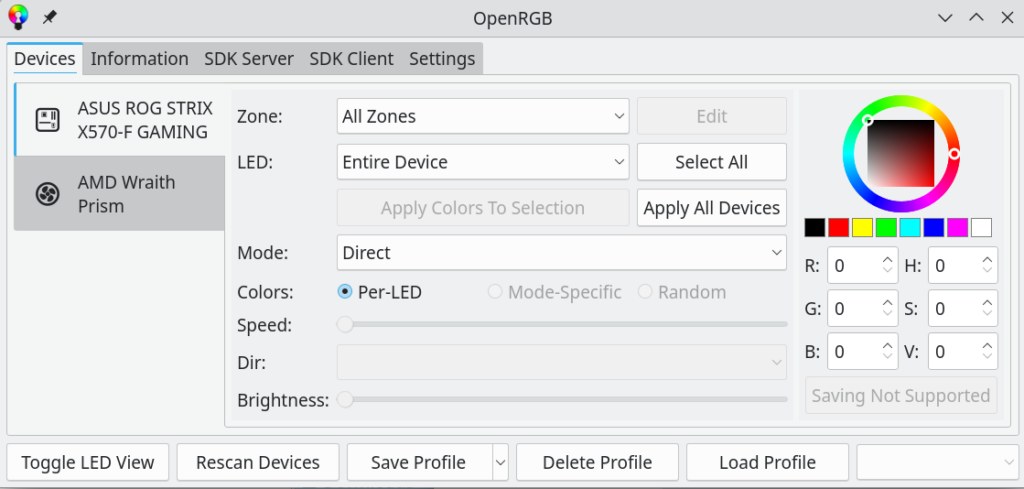
The main application window shows the devices OpenRGB has found.

This has done a pretty good job. It’s correctly identified the motherboard and the RGB headers it has. The software asked me how many LED’s I had connected to each header which was simply a matter of counting the LED’s on the two strips I have. In my case it was 24 LEDs connected to a single header. It required a little playing around to figure out which header they were connected to. It hasn’t detected my Keychron keyboard which I was a little surprised by as I saw an entry for Keychron in the udev rules file.
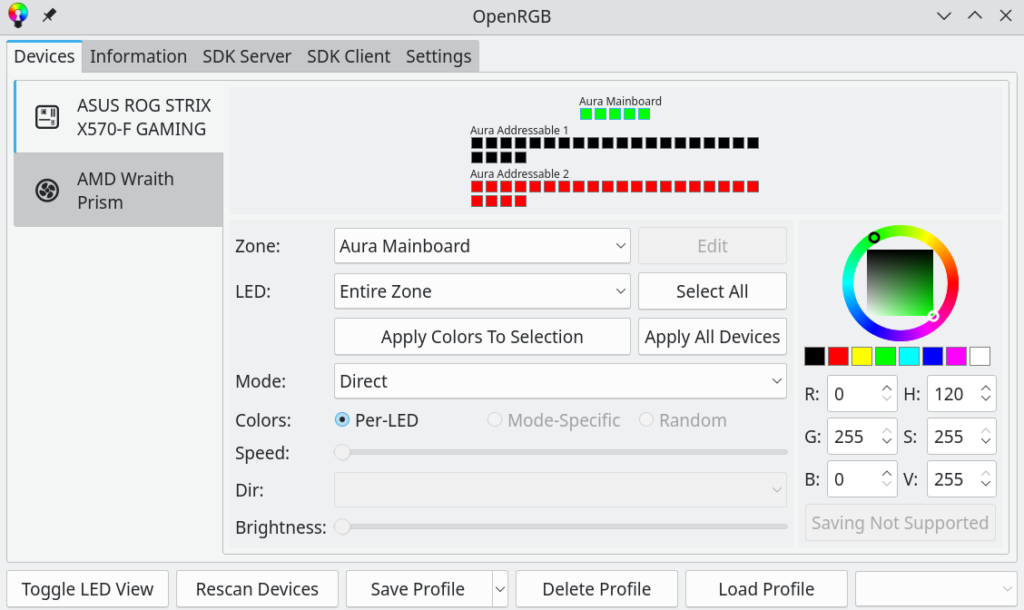
The best way to learn how to use OpenRGB just have a play as you’d be hard pressed to break anything. I think I prefer the LED view which can be toggled by pressing the button at the bottom left. The screen shot below shows my mainboard settings with red on the LED strips and green on the mainboard itself (the board has some LED’s over the back connectors).

There are plenty of animations and other settings to choose from, have a look under mode for example.
Overall I’m really pleased with this software. It’s so much more enjoyable to use than the multitude of proprietary offerings available.